MIM Bootstrap Installation Guide
Complete step-by-step guide to deploy your Digibyte mining infrastructure
What is MIM Bootstrap?
MIM Bootstrap is an automated deployment tool that sets up a complete Digibyte mining infrastructure in just 10-15 minutes. It handles everything from blockchain node configuration to mining pool setup, eliminating hours of manual work.
What You'll Get:
- Digibyte Core 8.26.1 - Full blockchain node with pruning options
- GoSlimStratum - Lightweight SHA256 solo mining pool
- PostgreSQL 18 - Database for pool statistics
- AxeOS Dashboard - Monitor your miners in real-time
- MIM Dashboard - Infrastructure management interface
- Dozzle - Container log viewer
- Watchtower - Automatic container updates
Server Requirements:
- OS: Ubuntu Server 24 or 25 (minimal install recommended)
- CPU: AMD64 or ARM64 Architecture, N150 or better
- Memory: 16 GB or more
- Swap: 20 GB minimum, 50GB maximum recommended
- Storage: 65 GB minimum (1 TB recommended for full node)
- Network: Stable internet connection
ARM64 Support: All components run natively on ARM64, including GoSlimStratum.
1Ubuntu Server 25 Installation
These screenshots walk you through a minimal Ubuntu Server 25 installation. This provides a clean, optimized base for your mining infrastructure.
Step 1: Boot from Ubuntu Server ISO
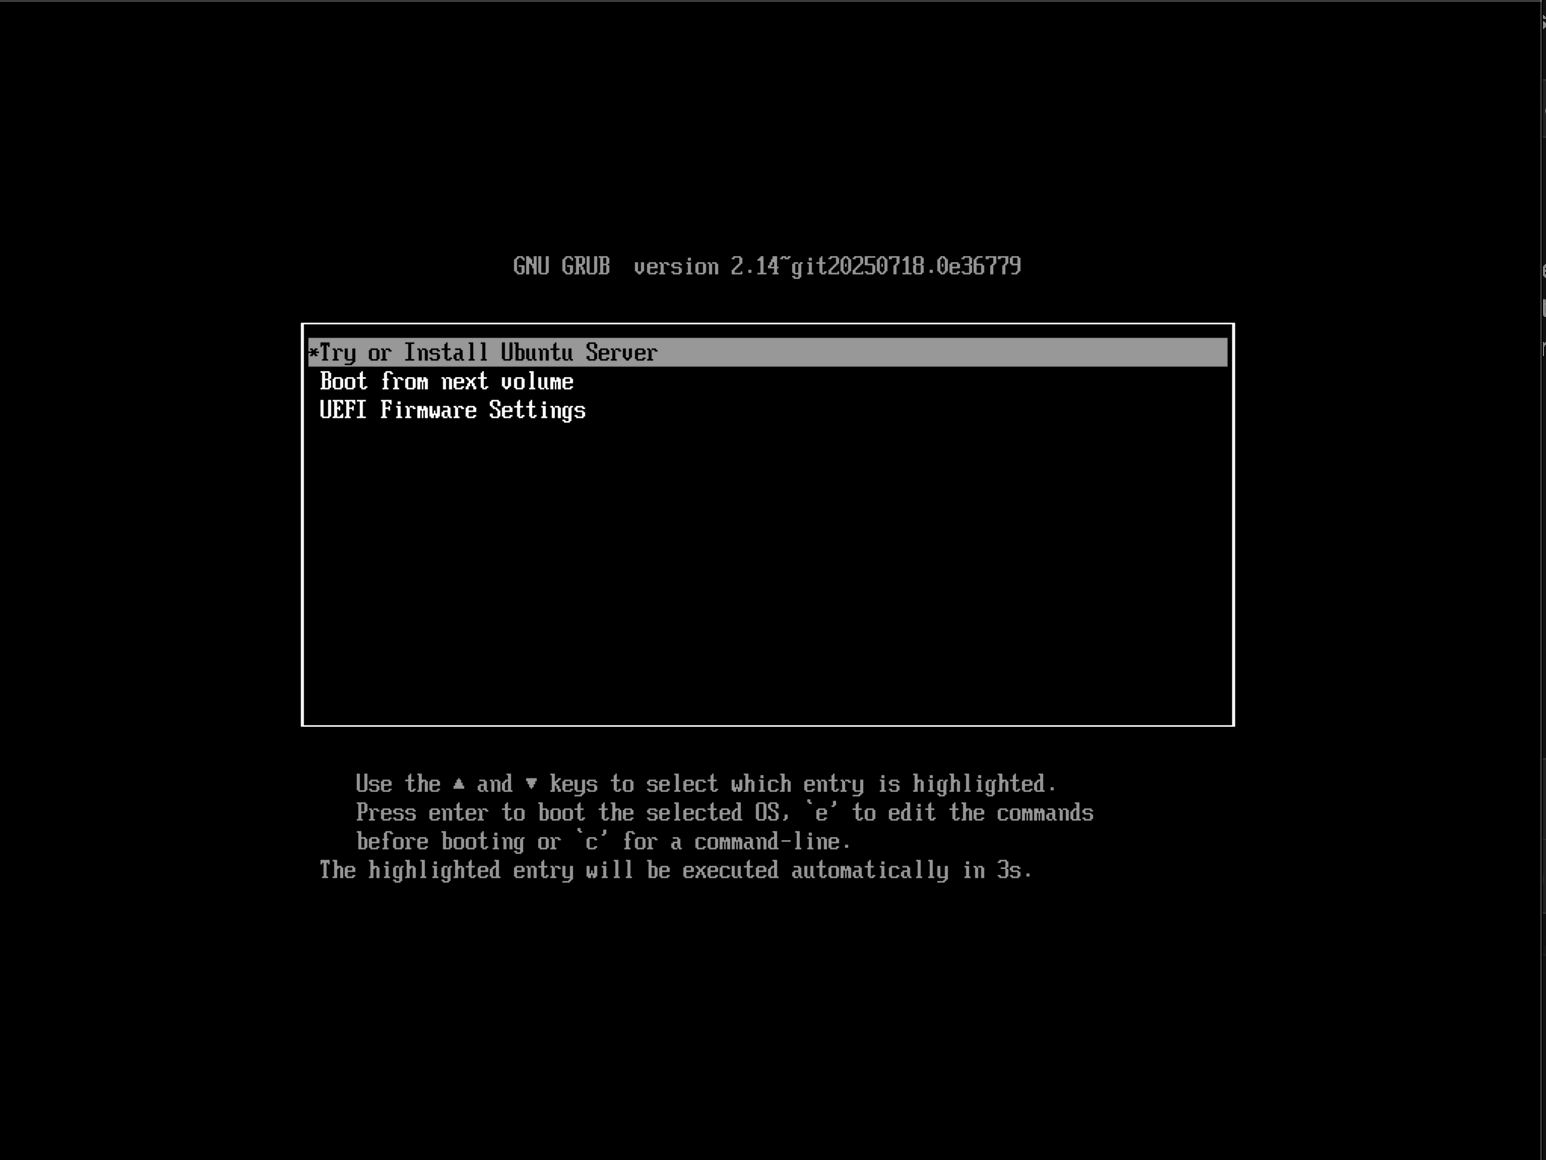
Boot from the Ubuntu Server installation media
Step 2: Select Language
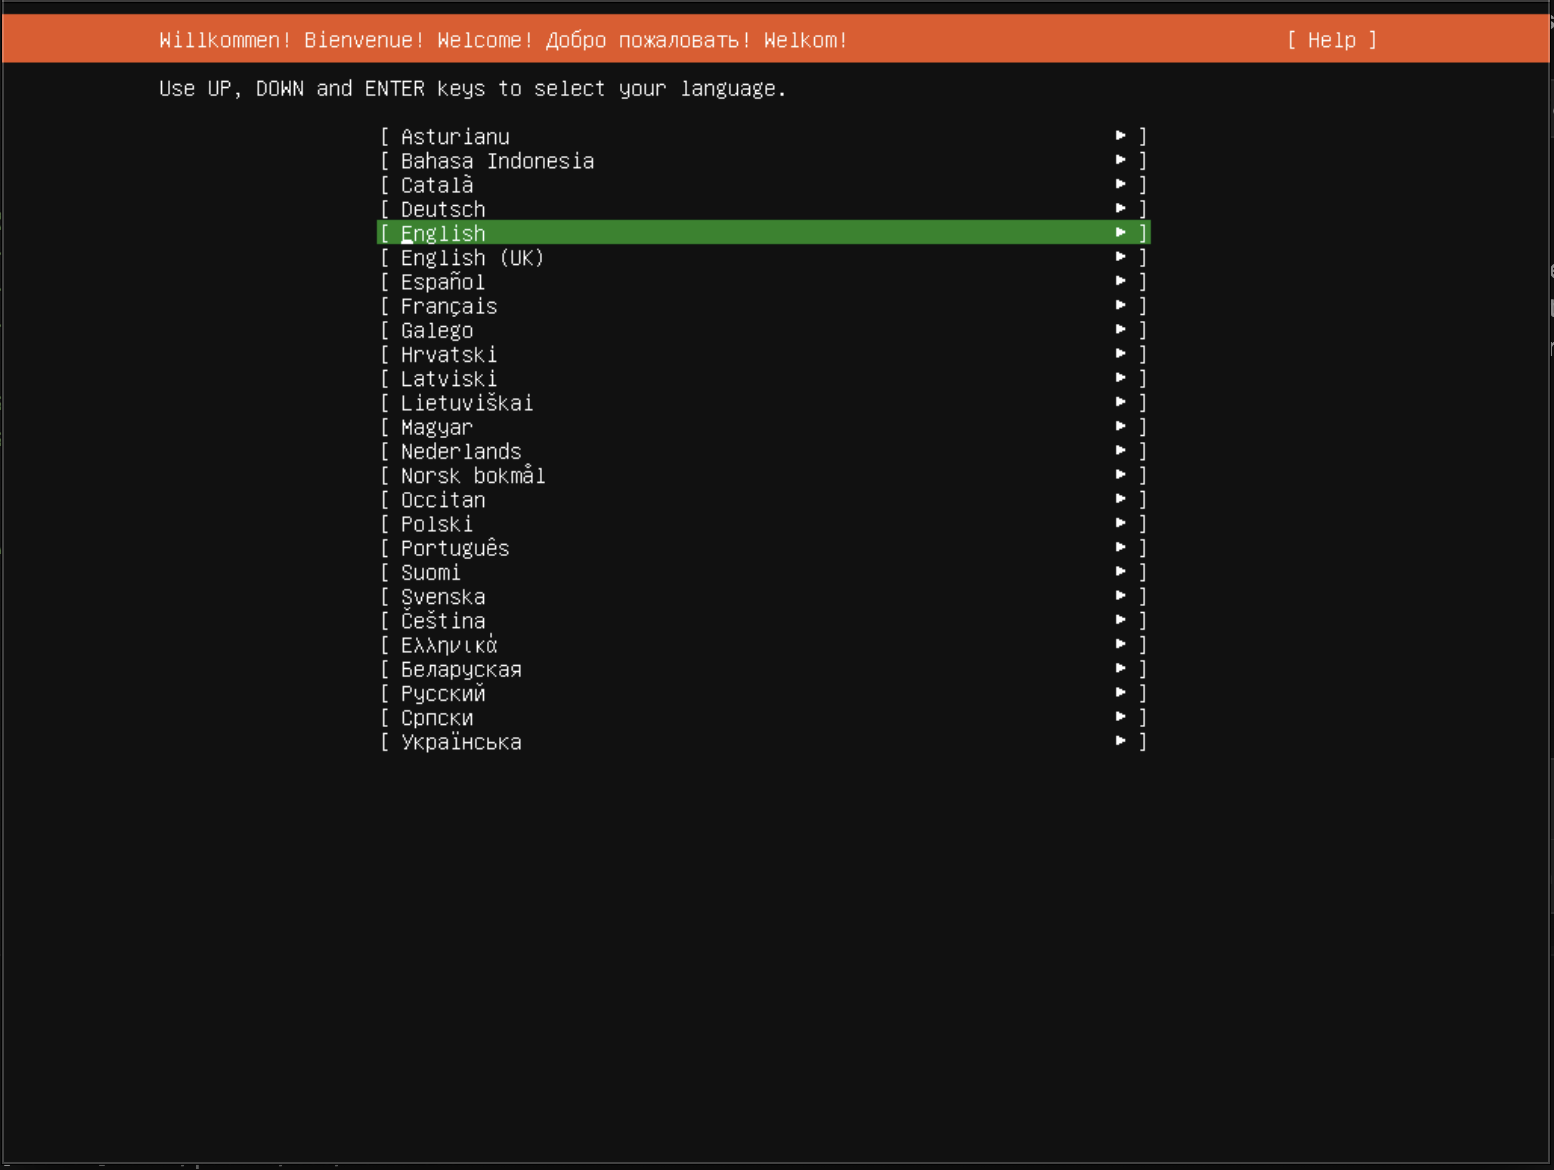
Choose your preferred language for the installation
Step 3: Keyboard Configuration
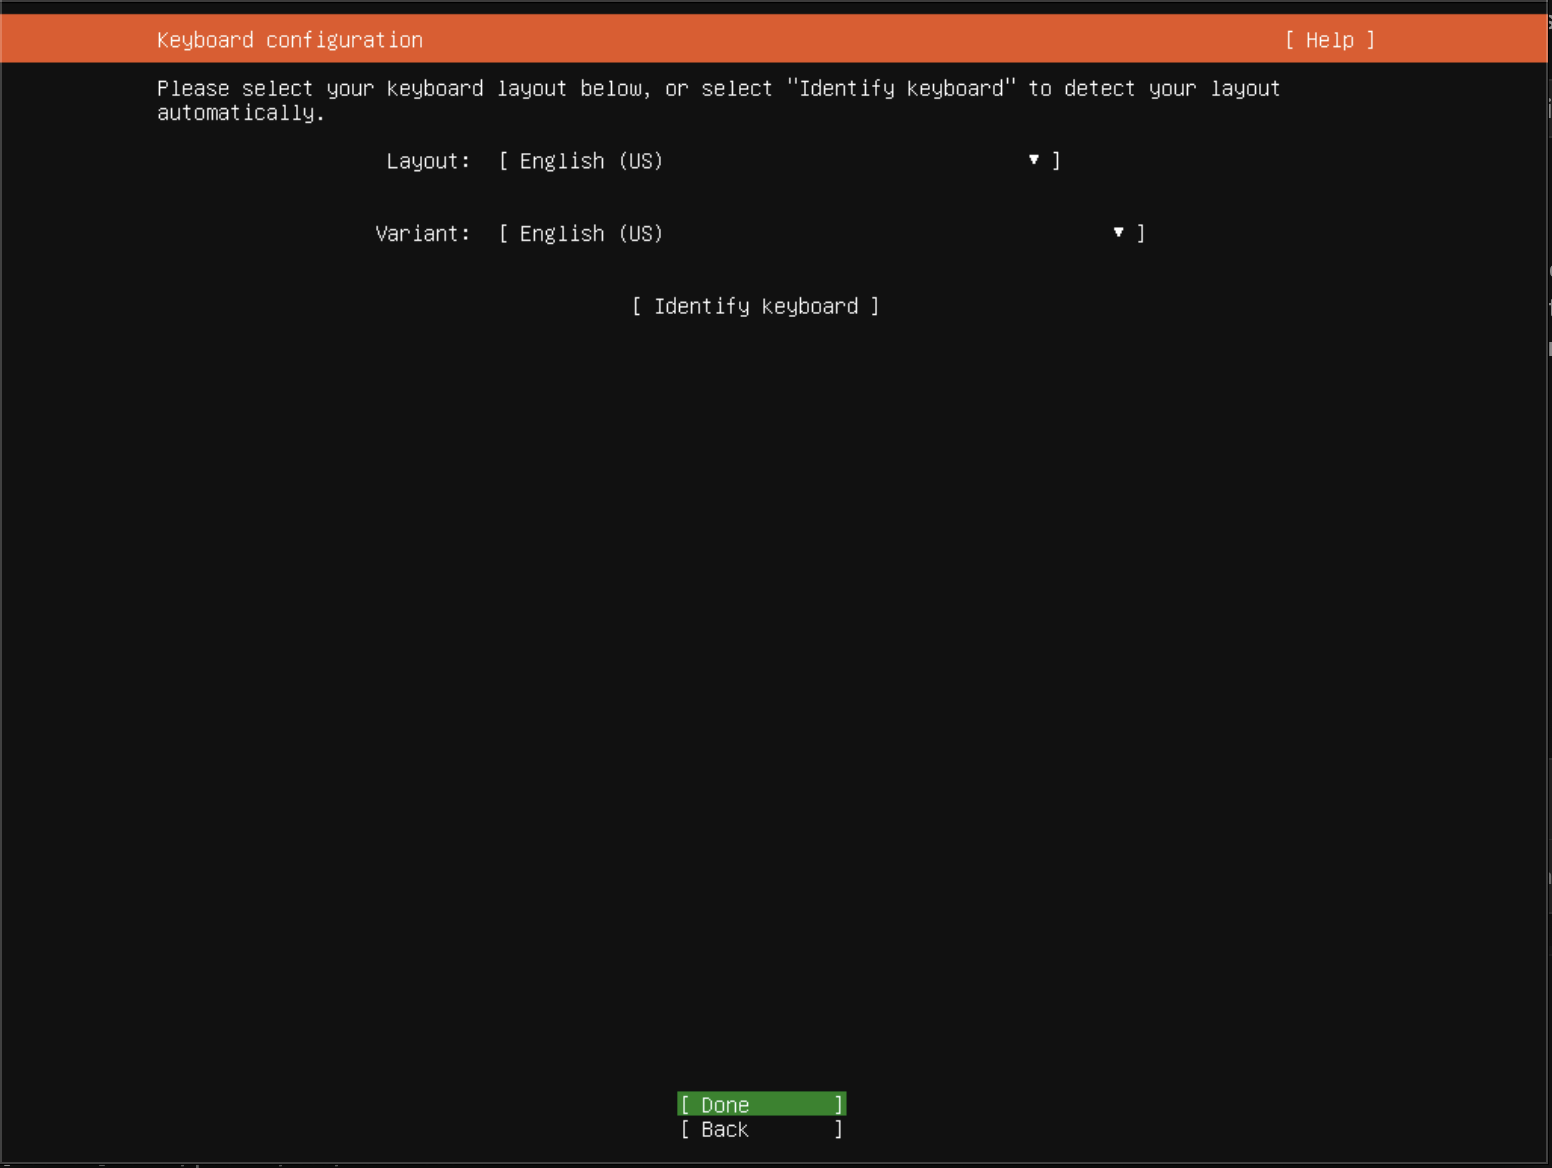
Select your keyboard layout
Step 4: Installation Type
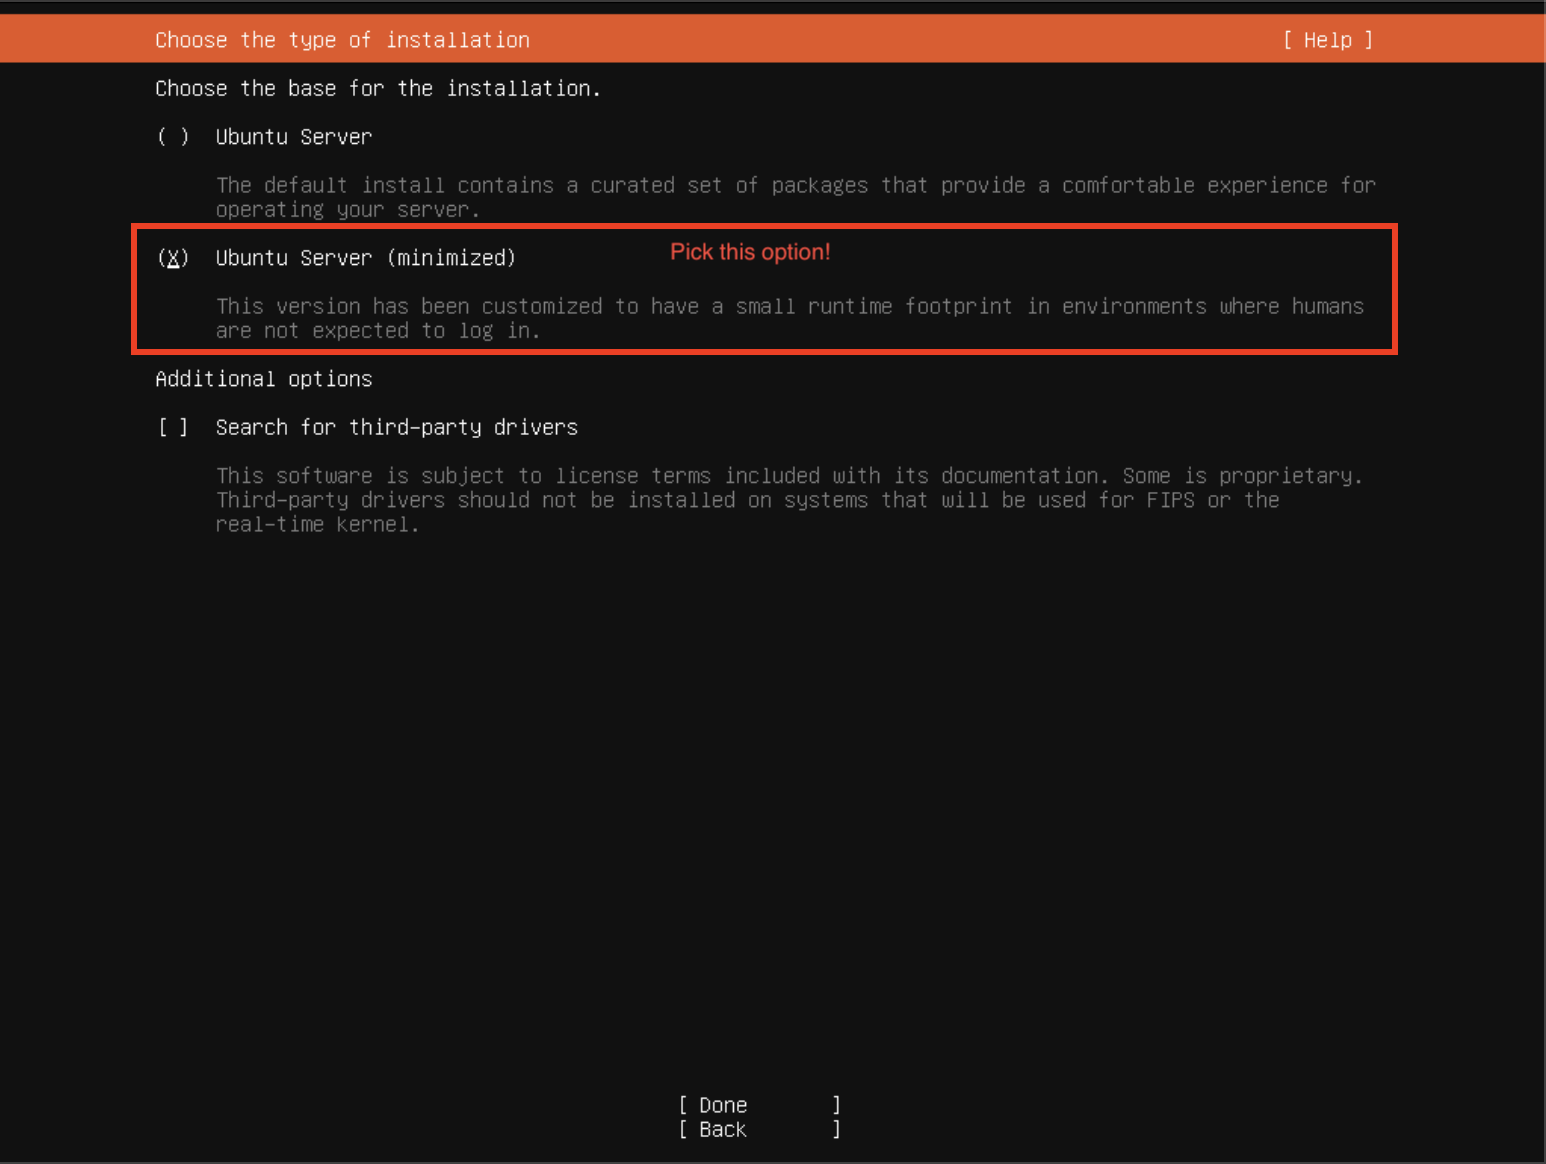
Select "Ubuntu Server (minimized)" for optimal performance
Step 5: Network Configuration
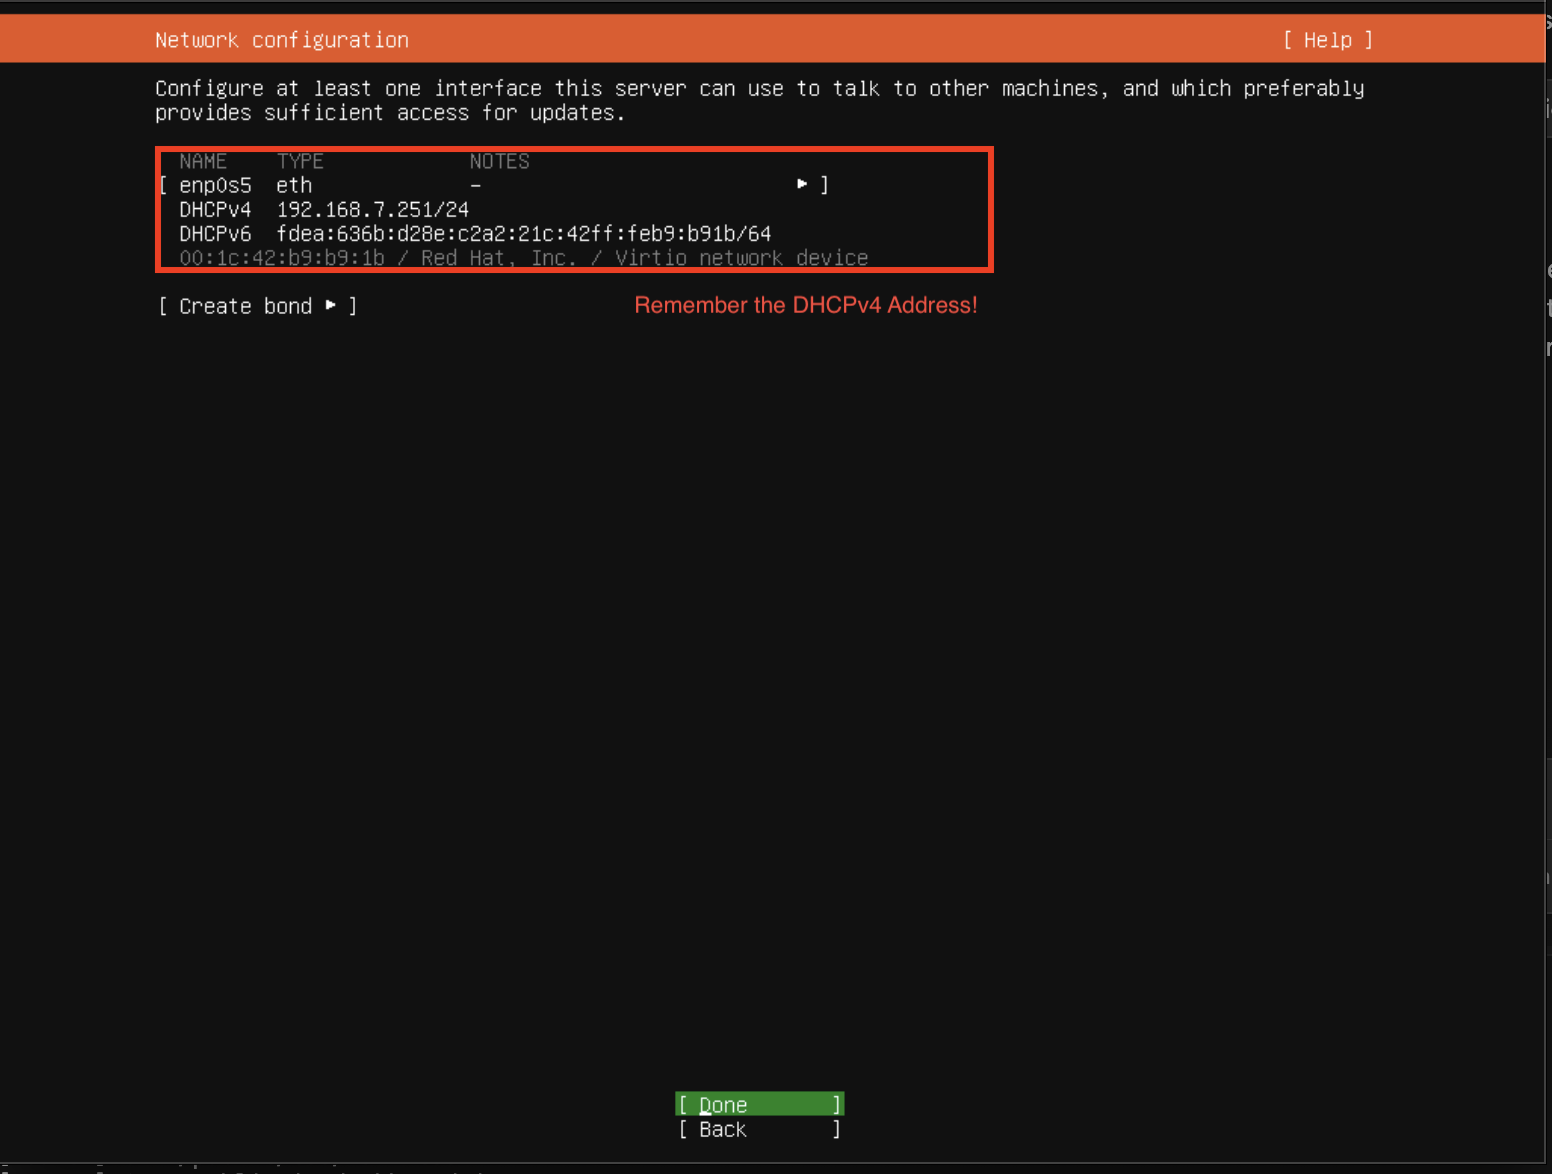
Configure network settings (DHCP is fine for most setups)
Step 6: Proxy Configuration
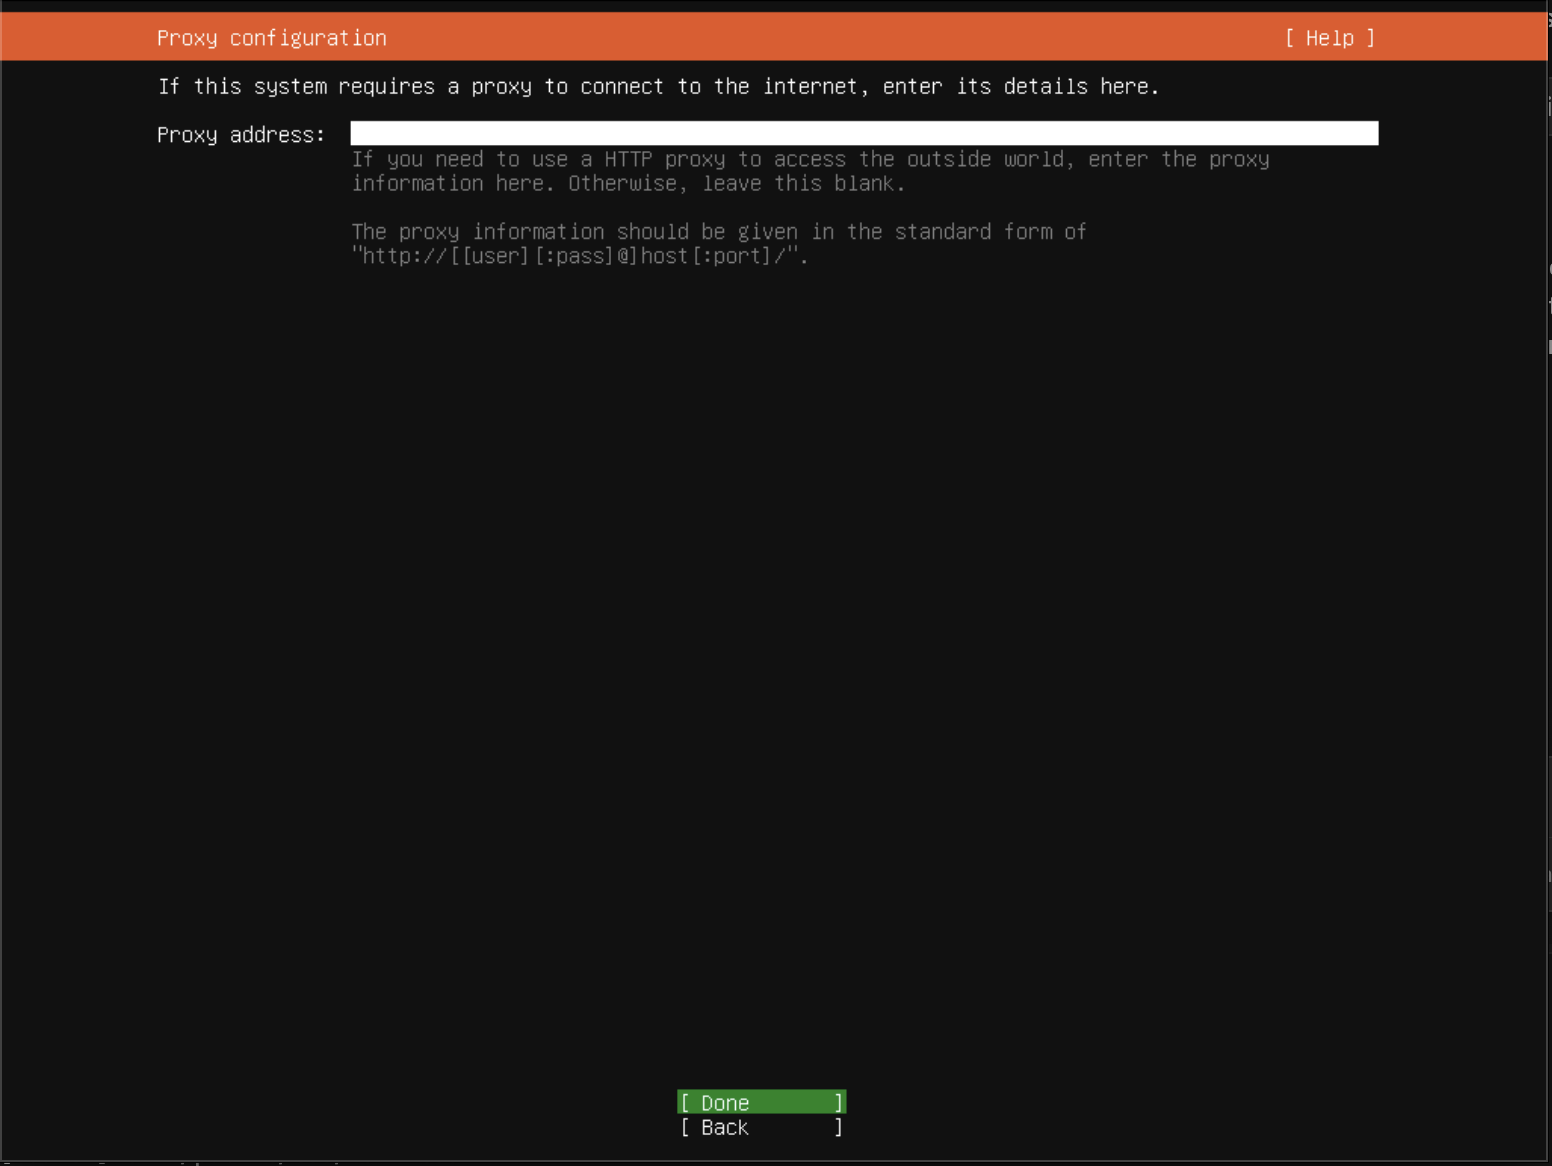
Leave blank unless you're behind a corporate proxy
Step 7: Mirror Selection
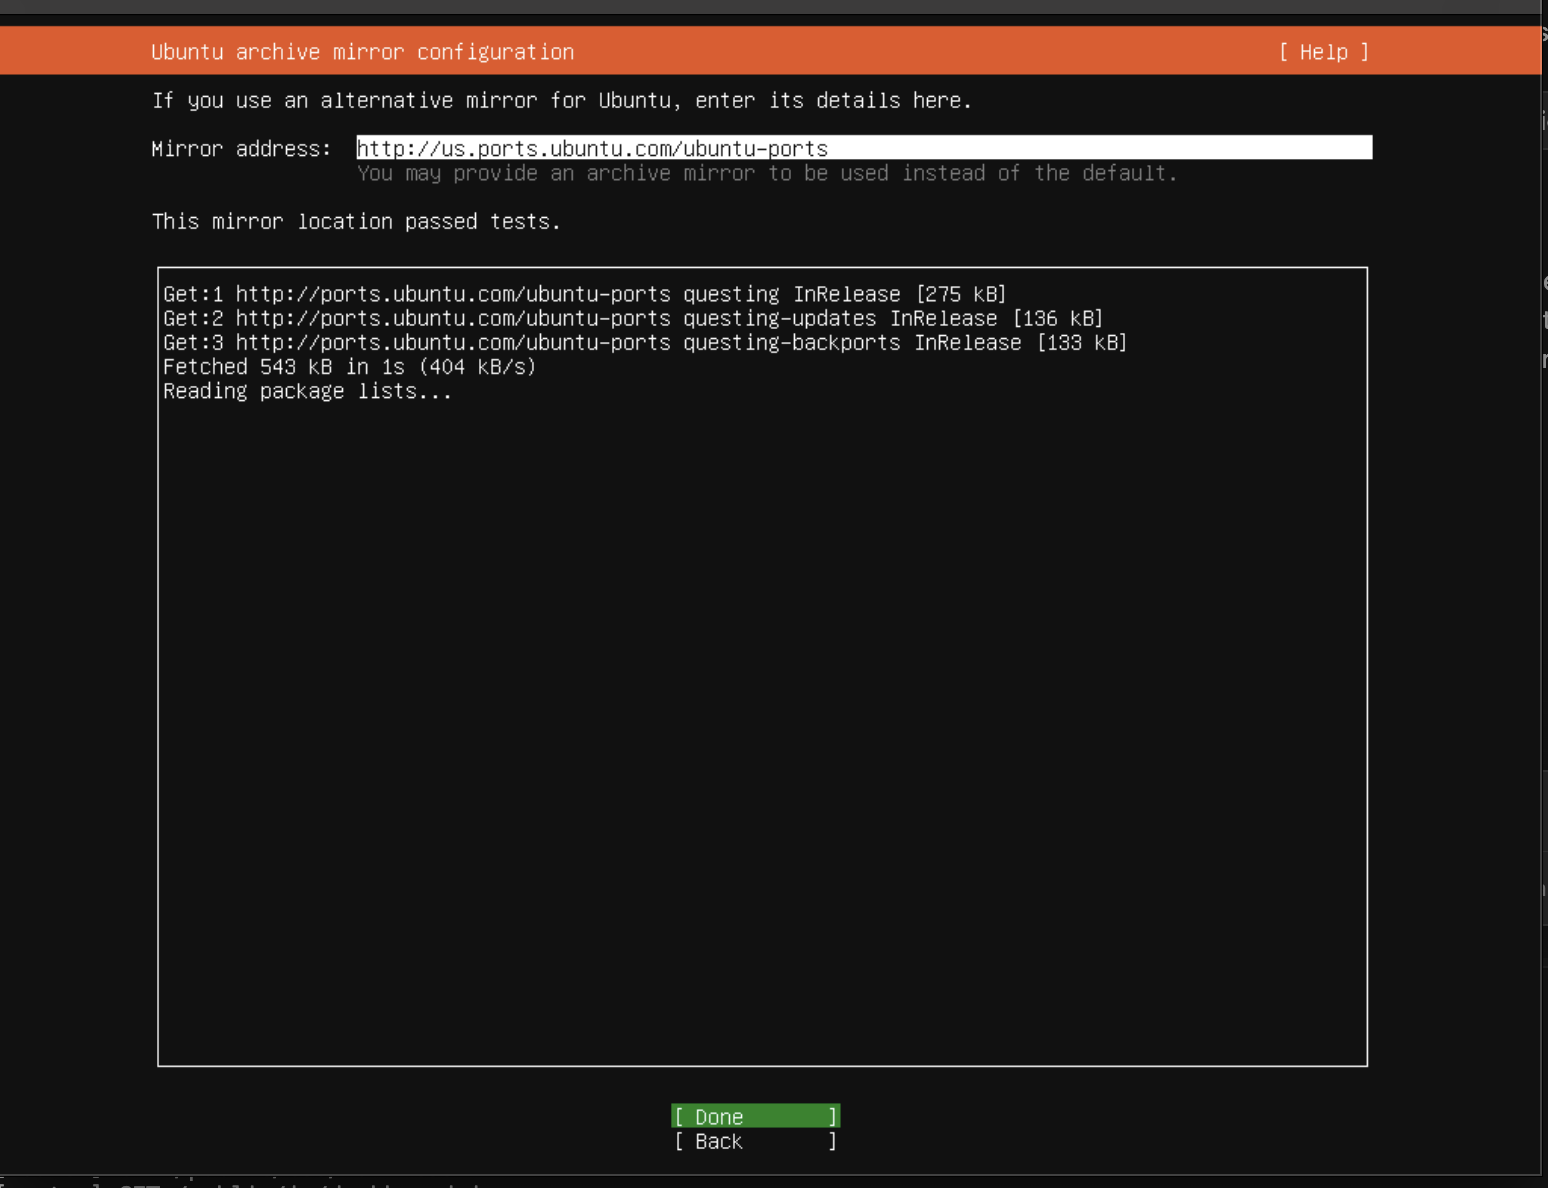
Use default mirror or choose one closest to your location
Step 8-10: Storage Configuration and Summary
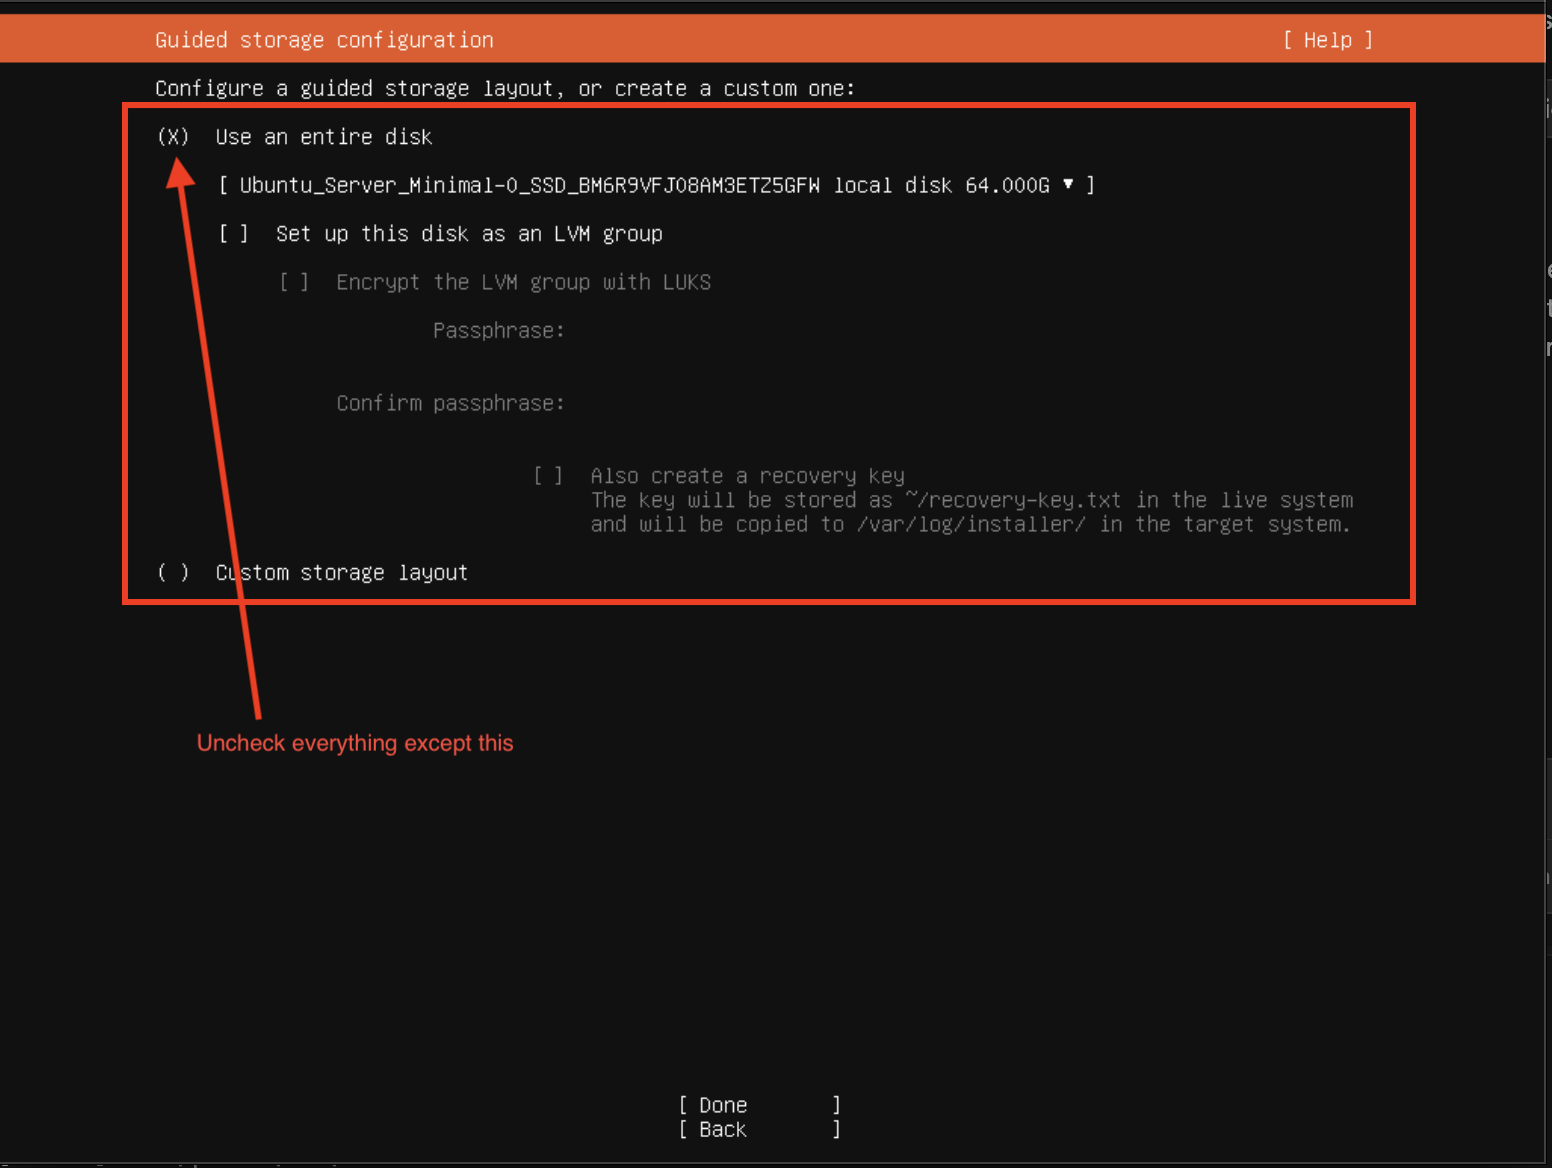
Storage configuration - Use entire disk (default option works well)
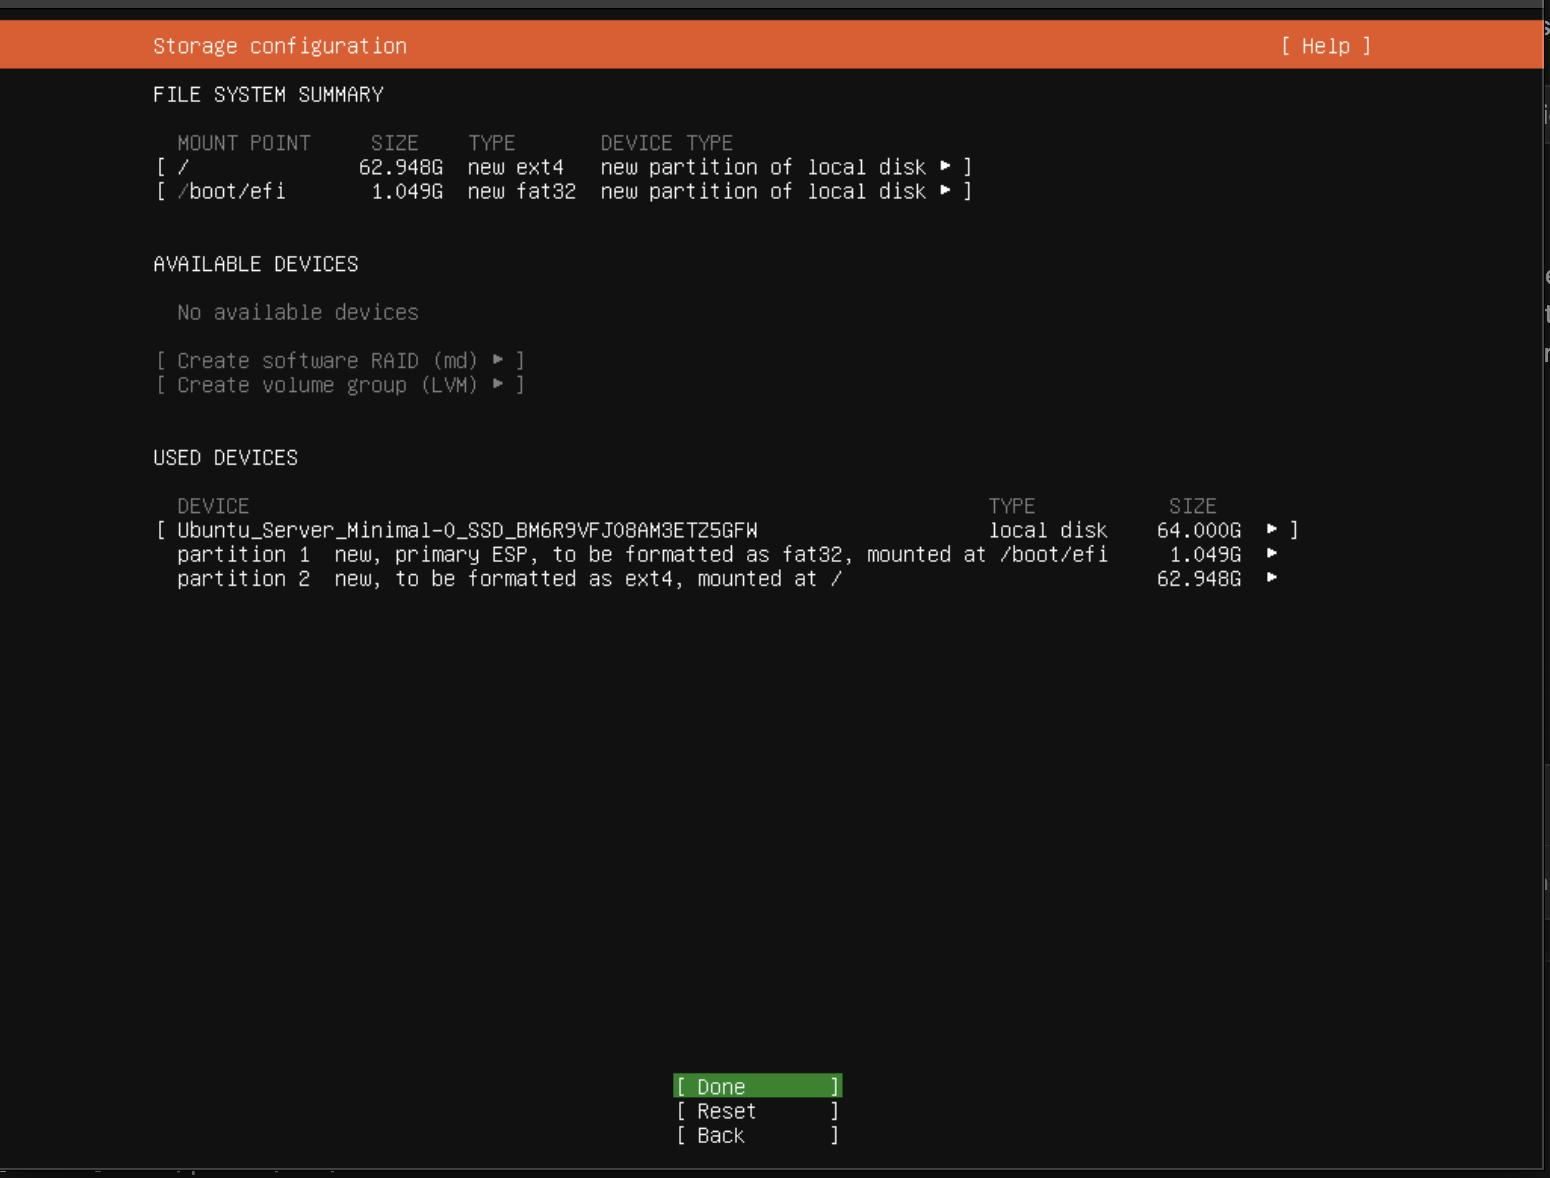
Storage layout confirmation
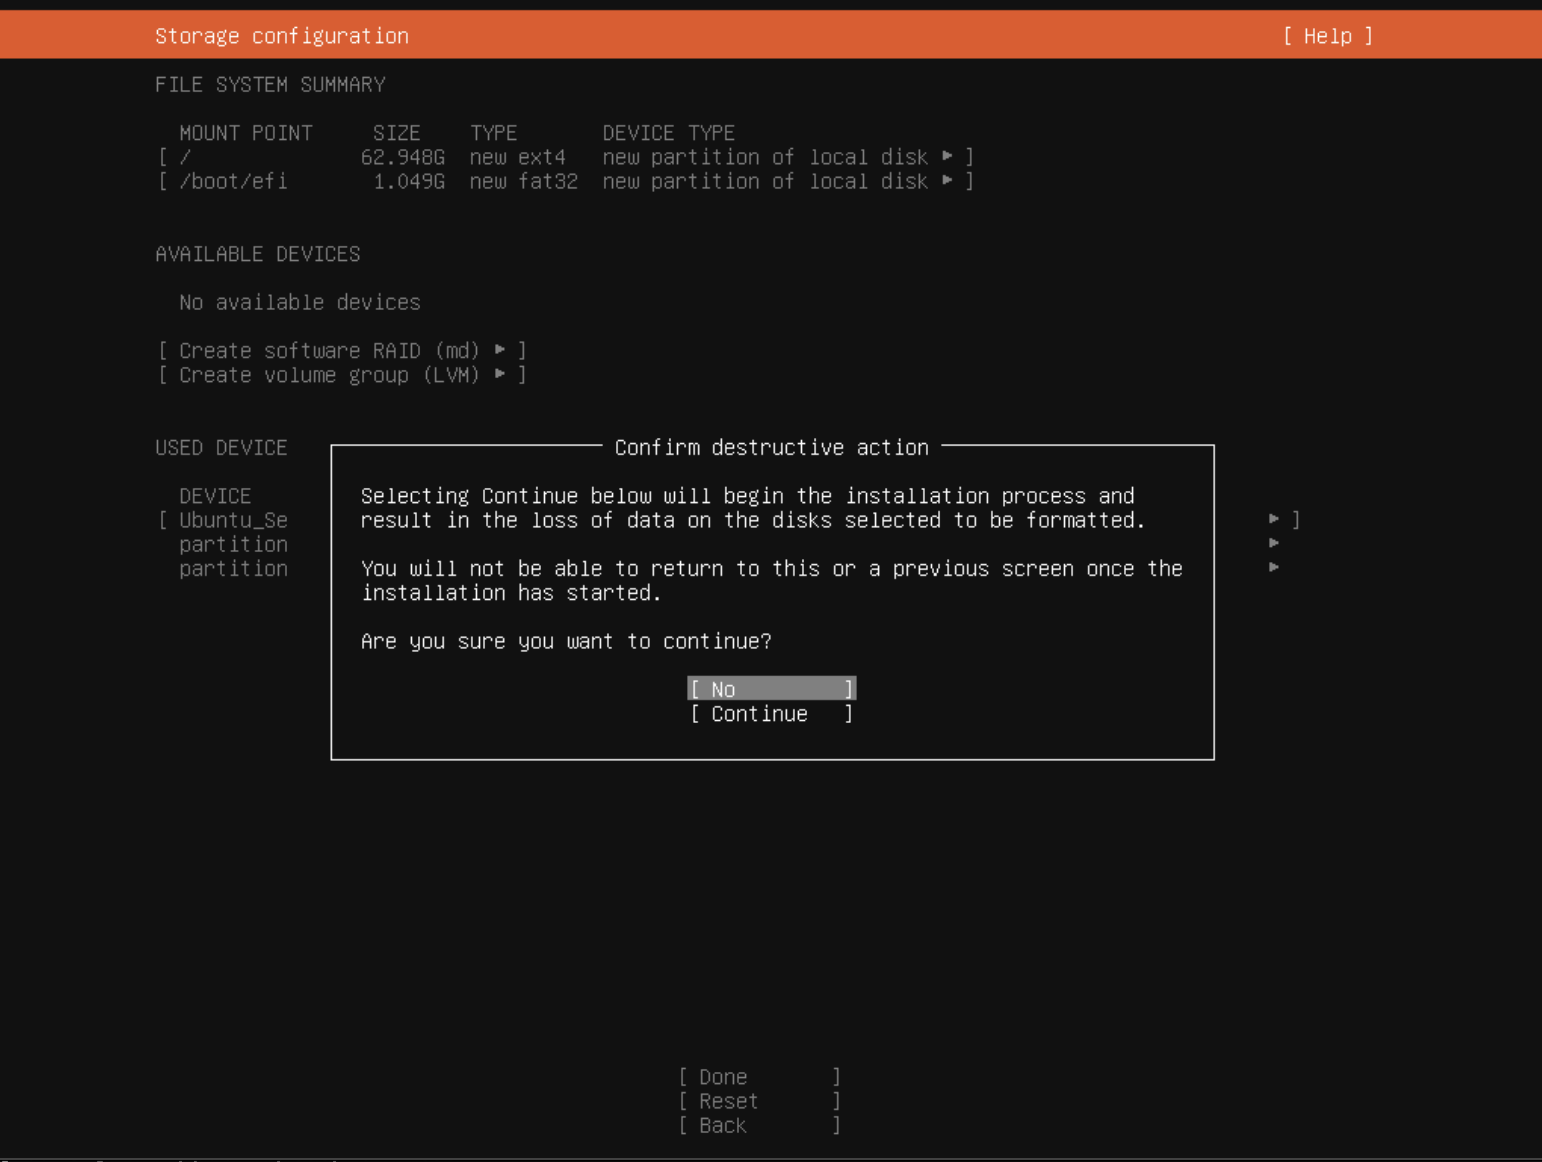
Review partition layout and confirm to continue
Step 11: Profile Setup
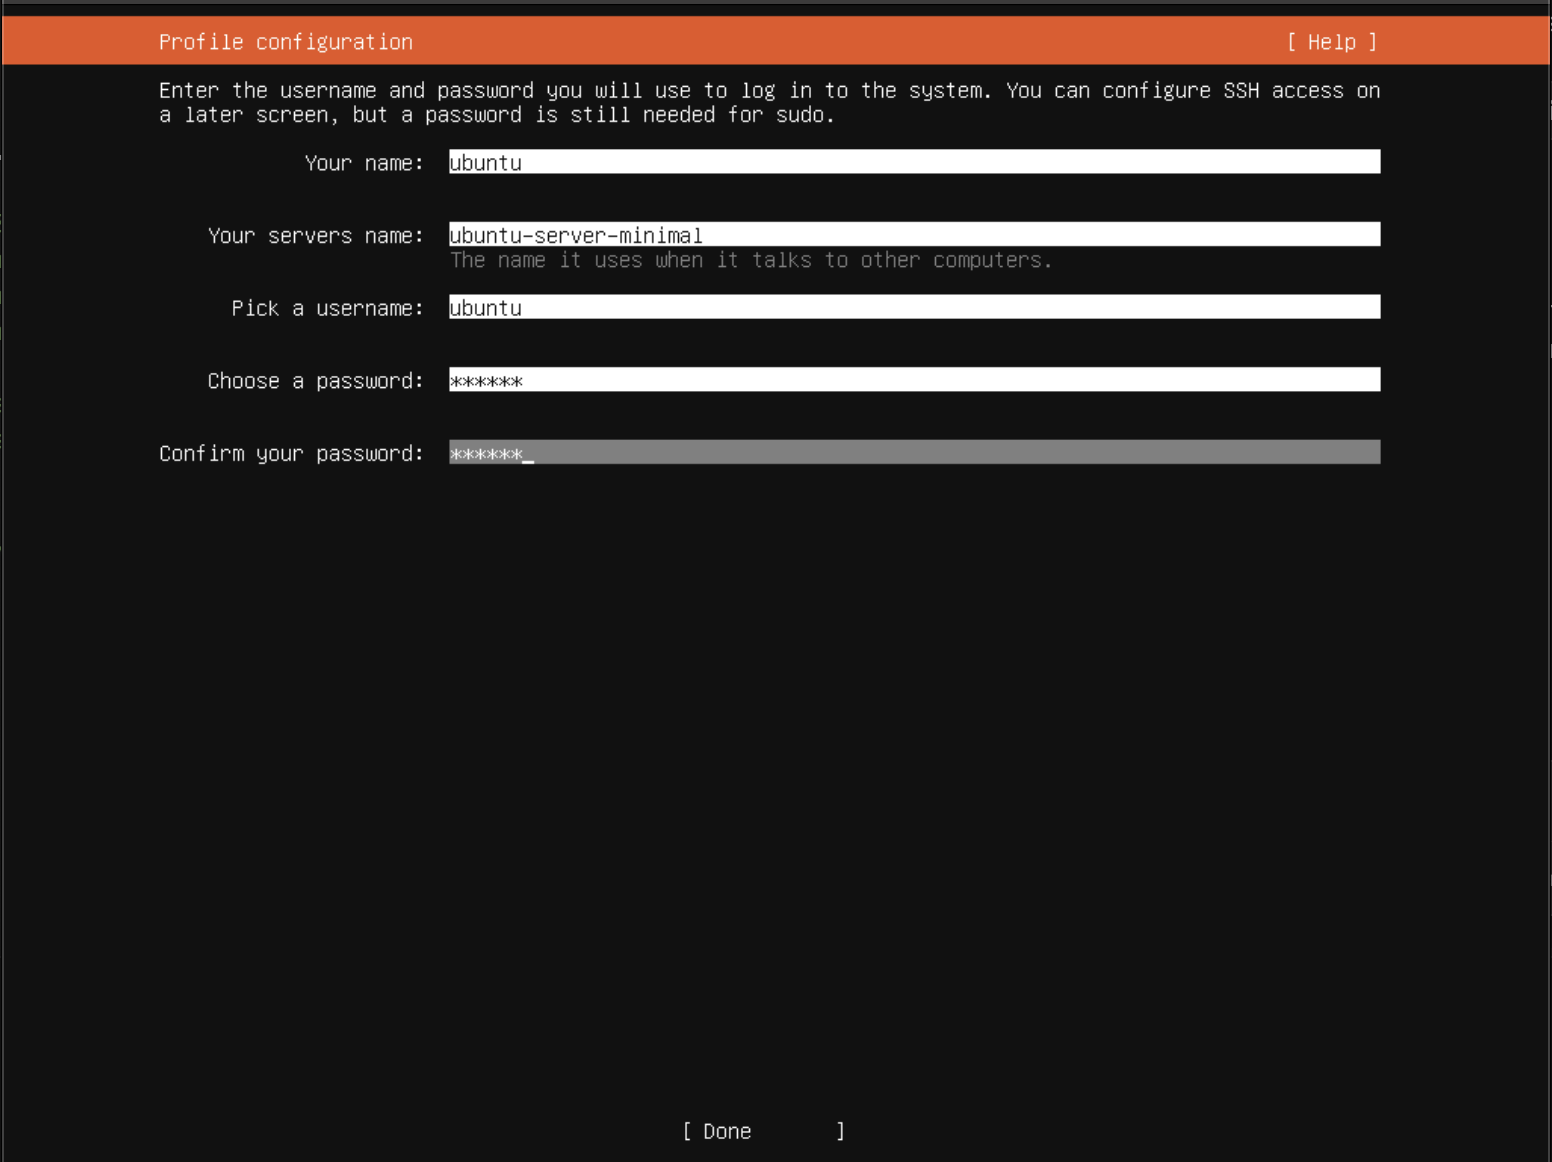
Create your admin user account
Step 12: SSH Setup

Important: Install OpenSSH server (required for remote management)
Step 13: Featured Server Snaps
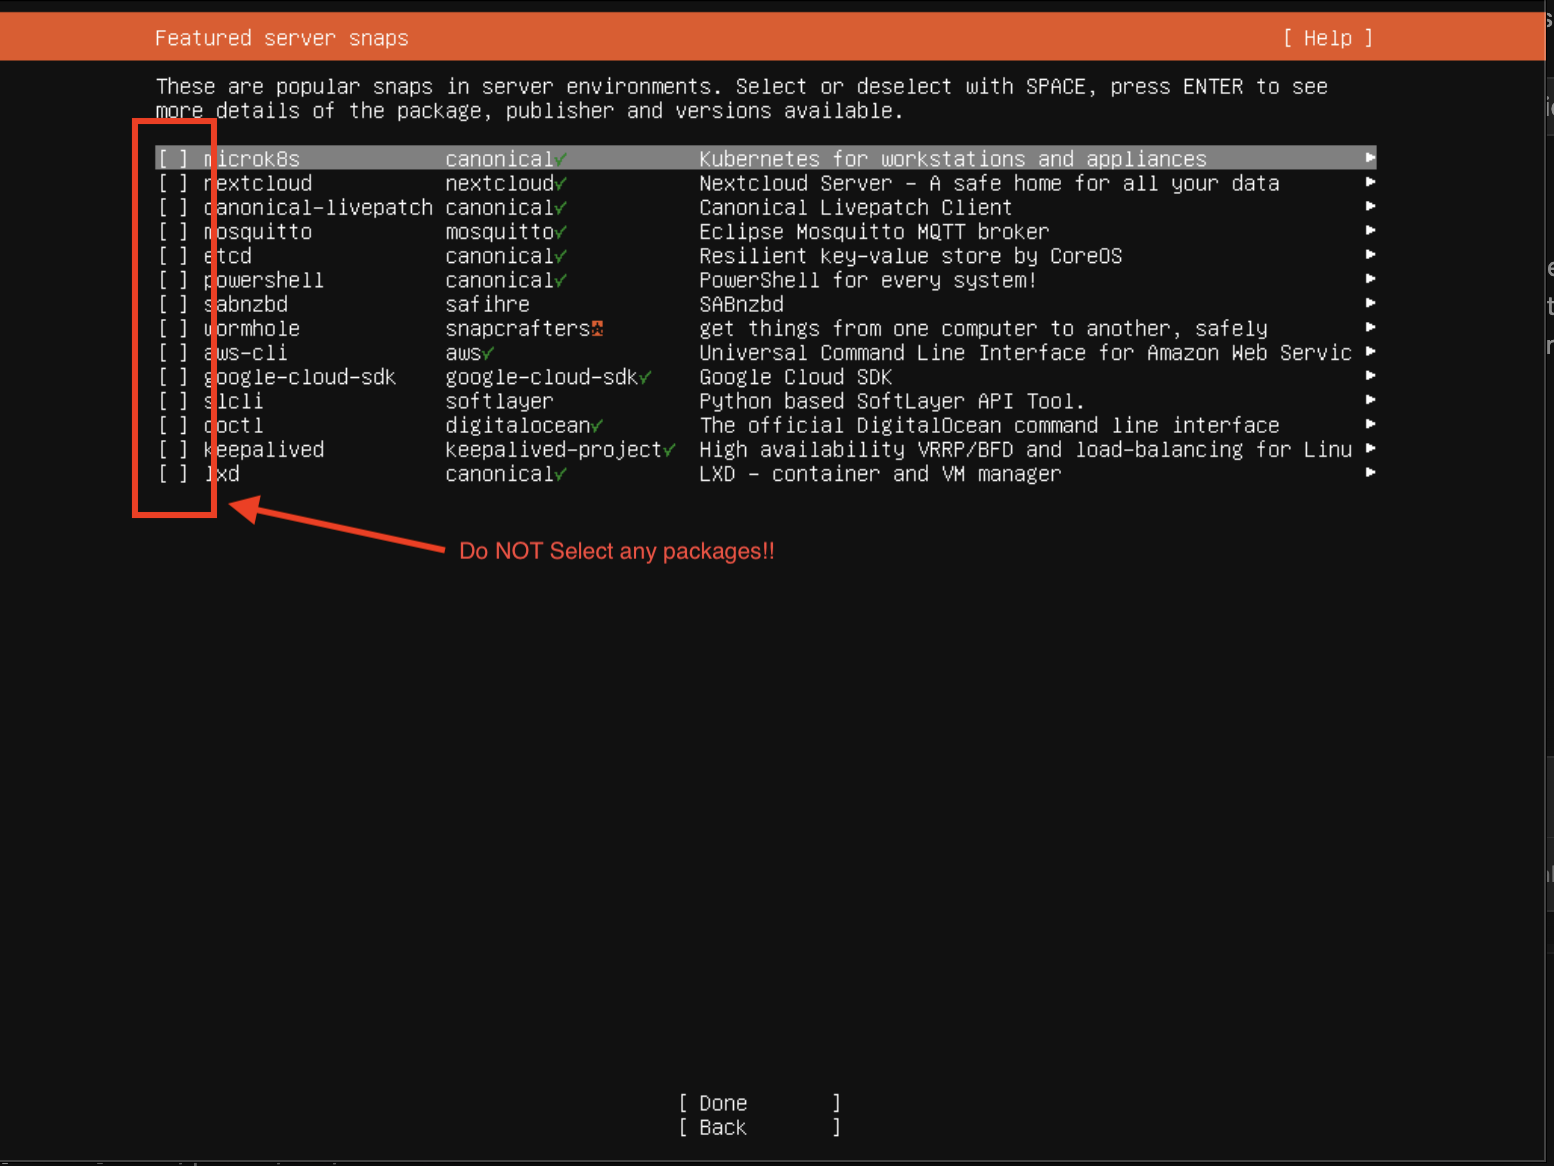
Skip all snaps - we'll use Docker instead
Step 14: Installation Progress
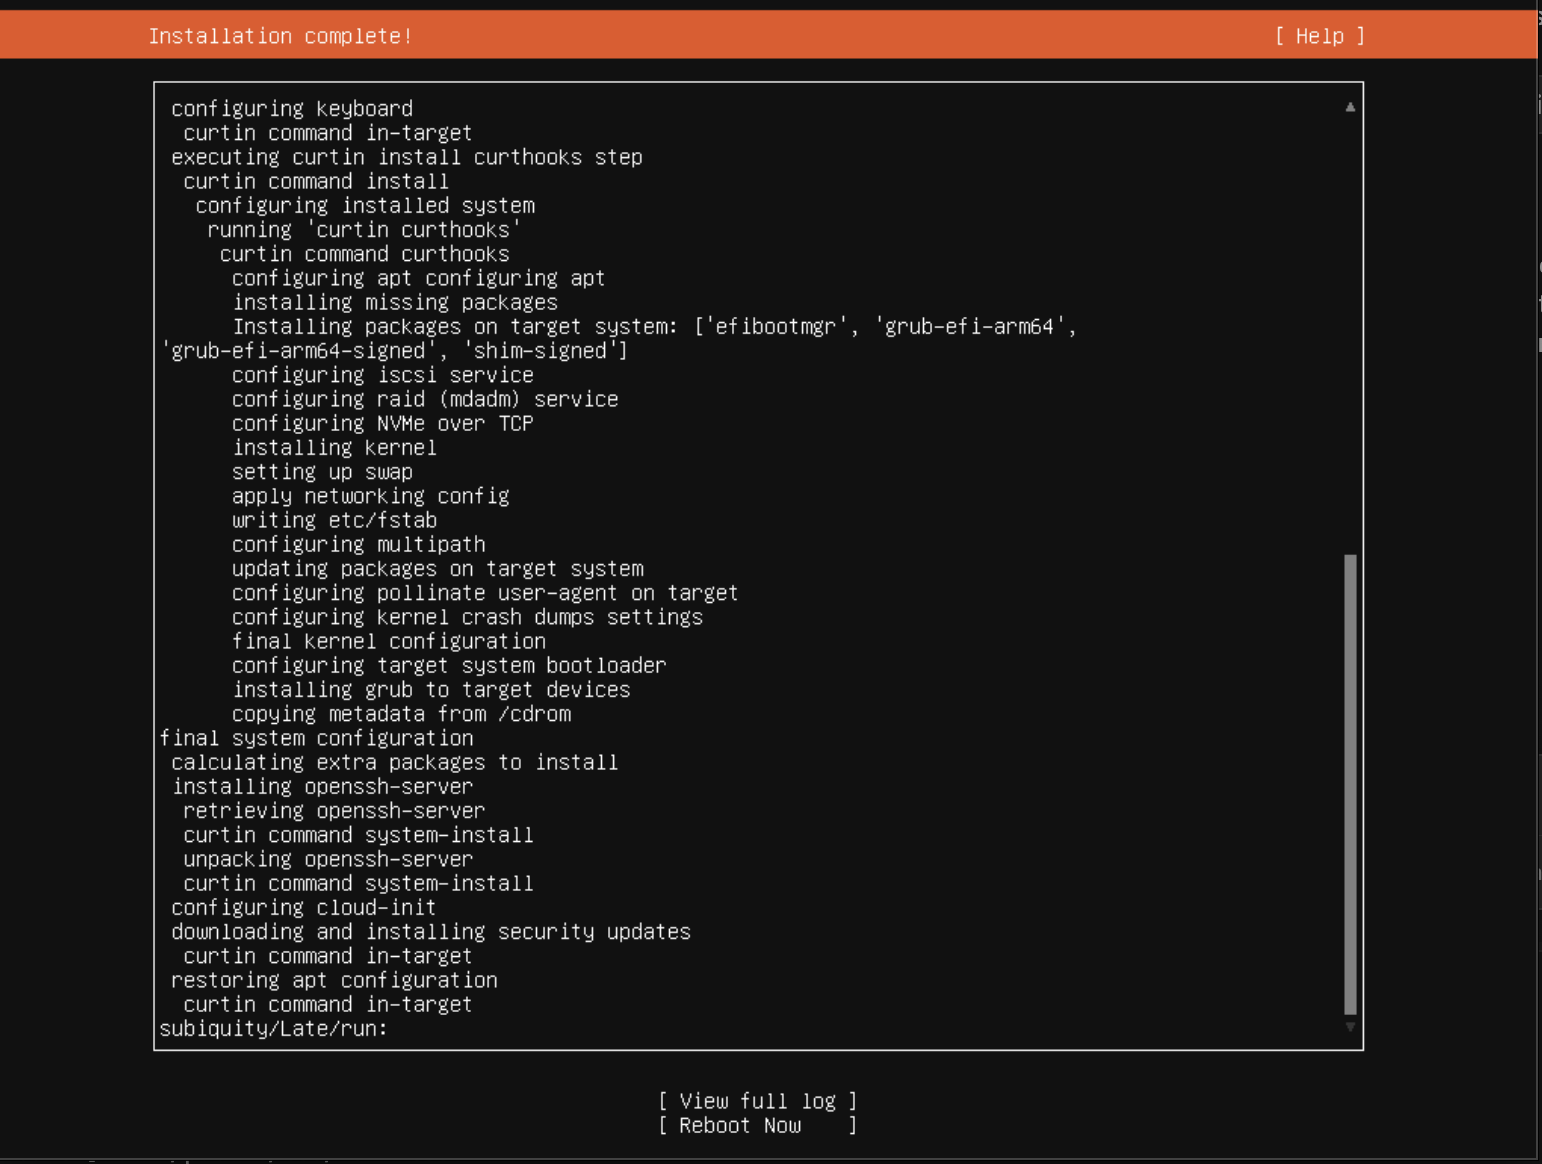
Wait for installation to complete (typically 5-10 minutes)
Step 15: Installation Complete & Reboot
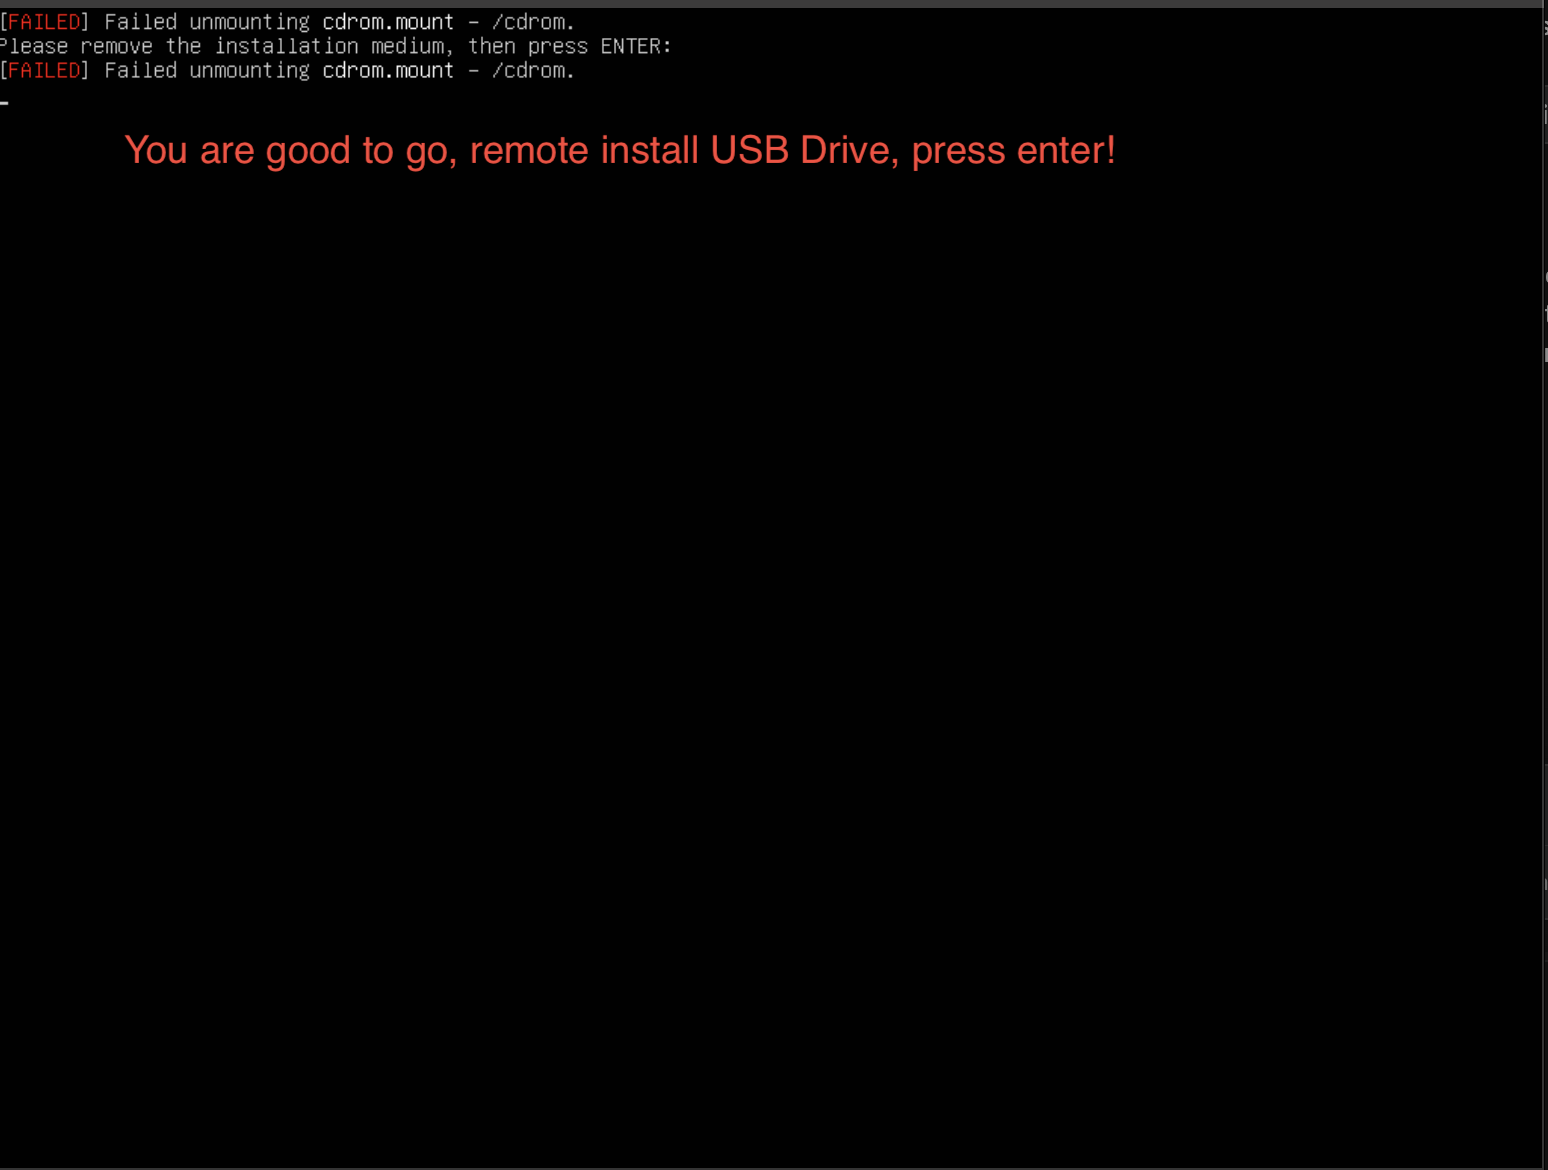
Remove installation media, reboot, and login with your account
2Docker Installation
Docker is required to run MIM Bootstrap and all the mining infrastructure containers. Follow these official Docker installation steps:
Remove Old Docker Versions (if any)
sudo apt-get remove docker docker-engine docker.io containerd runc
Update Package Index
sudo apt-get update
Install Prerequisites
sudo apt-get install ca-certificates curl
Add Docker's Official GPG Key
sudo install -m 0755 -d /etc/apt/keyrings
sudo curl -fsSL https://download.docker.com/linux/ubuntu/gpg -o /etc/apt/keyrings/docker.asc
sudo chmod a+r /etc/apt/keyrings/docker.asc
Add Docker Repository
echo \
  "deb [arch=$(dpkg --print-architecture) signed-by=/etc/apt/keyrings/docker.asc] https://download.docker.com/linux/ubuntu \
  $(. /etc/os-release && echo "$VERSION_CODENAME") stable" | \
  sudo tee /etc/apt/sources.list.d/docker.list > /dev/null
Update Package Index Again
sudo apt-get update
Install Docker Engine
sudo apt-get install docker-ce docker-ce-cli containerd.io docker-buildx-plugin docker-compose-plugin
Verify Docker Installation
sudo docker run hello-world
3Launch MIM Bootstrap
Now that Ubuntu and Docker are installed, you're ready to launch MIM Bootstrap.
Create the /data Directory
Create the directory where all mining infrastructure data will be stored:
sudo mkdir -p /data
Pull the MIM Bootstrap Image
sudo docker pull ghcr.io/mmfpsolutions/mim-bootstrap:latest
Run MIM Bootstrap Container
sudo docker run -d \
  --name bootstrap \
  -p 3002:3002 \
  --restart unless-stopped \
  ghcr.io/mmfpsolutions/mim-bootstrap:latest
Command breakdown:
-d- Run in detached mode (background)--name bootstrap- Name the container "bootstrap"-p 3002:3002- Map port 3002 to host--restart unless-stopped- Auto-restart on reboot
Verify Container is Running
sudo docker ps
You should see the "bootstrap" container in the list with status "Up".
4Access the Web Interface
Find Your Server IP Address
If you don't know your server's IP address, run:
hostname -I | awk '{print $1}'
Open MIM Bootstrap in Your Browser
From any computer on your network, open a web browser and navigate to:
http://YOUR-SERVER-IP:3002/setup
For example, if your server IP is 192.168.1.100:
http://192.168.1.100:3002/setup
Complete the Setup Wizard
The MIM Bootstrap setup wizard will guide you through 4 simple steps:
- Server Access - SSH connection details
- Passwords - Set passwords for MIM user, PostgreSQL, and GoSlimStratum
- Digibyte Settings - Configure RPC credentials and blockchain pruning
- Review & Start - Confirm settings and begin automated deployment
- Create a new user called "mim" on your server
- Install all required mining infrastructure
- Take approximately 10-15 minutes to complete
- Display real-time progress updates
What Happens Next?
Once the bootstrap completes, you'll have access to:
- MIM Dashboard:
http://YOUR-SERVER-IP:3001 - AxeOS Dashboard:
http://YOUR-SERVER-IP:3000 - Dozzle (Log Viewer):
http://YOUR-SERVER-IP:8080
Troubleshooting
Container Won't Start
Check container logs:
sudo docker logs bootstrap
Can't Access Web Interface
- Verify container is running:
sudo docker ps - Check firewall isn't blocking port 3002
- Ensure you're using
http://nothttps://
Bootstrap Process Fails
- Verify SSH credentials are correct
- Ensure server meets minimum requirements (16GB RAM, 20GB swap, 65GB storage)
- Check that Docker is properly installed on the target server
Need Help?
Visit our Support page for additional resources or to report an issue on GitHub.